Subatai vs. Jalal al-Din - a Great Raid Podcast Follow-Up

Following the last MeG Podcast episode - The Great Raid, Mongol style 1220-1223CE - Richard and I had a game where we used the lists we had drawn up for the podcast.
So Subutai faced off against Jalal al-Din; which list prevailed? Read on for a short account ...
As a reminder here are the two lists, Khwarazmian and Mongol Conquest:


The PBS determined that the Khwarazmians invaded the Mongols on an open plain between a river and a village. Cavalry country.
Both sides deployed well advanced and mostly went with the option of deploying the Flexible Unprotected cavalry in Loose formation rather than Skirmisher formation. Maximised firepower but can also mean a lot of casualties to your own troops as well. It meant that in all probability the game would be short and bloody even if there was no hand to hand fighting.
Both sides had their ally next to the river, although the Khwarazmians had a unit of skirmisher cavalry on the end of the line to get a couple more Skilled shots in. The Khwarazmian Lancers were beside the ally and the one Protected Mongol unit was facing them.
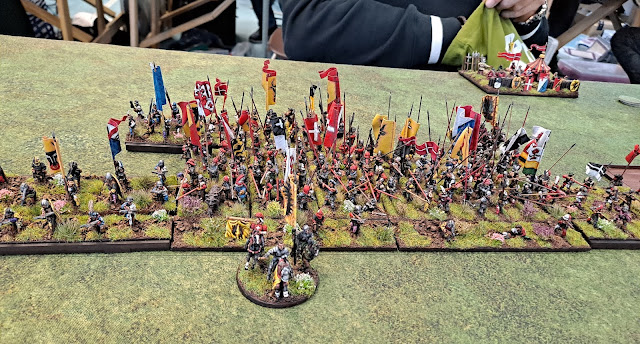
Some shots of the table after deployment:


Both sides allies were reliable.
First move was a bit cagey with both sides aware that with all the Unprotected cavalry that over-committing could lead to trouble. The Khwarazmians were a bit more direct having 3 units of proper combat cavalry they wanted to get into the Mongols. However, on both the left and right wings troops did get into shooting range.


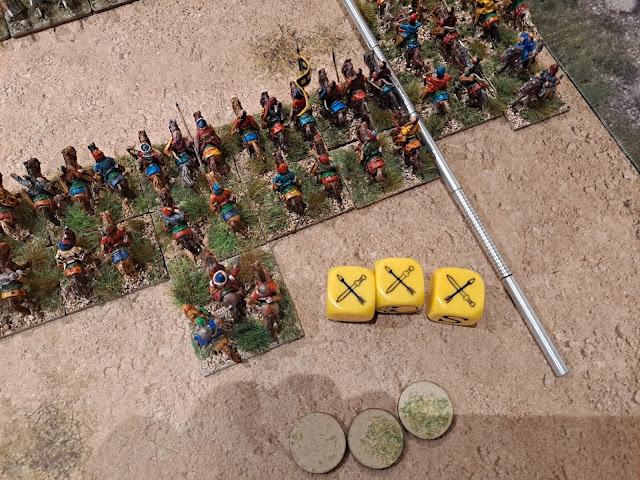
Move 2 then sees the shooting start. Mongols first shot:


The movement phase sees some jockeying for position by both sides, trying to find some small advantages with the shooting. The Khwarazmians also looked to push their Lancers right up against the Mongol cavalry wit the aim of maximising the chances of catching them with a charge that includes Shoot & Charge shooting. 2 units get very close but the third cannot, but is still within shooting distance thus keeping the charge option open.


Having got there the Lancers all charge with discs allocated to their general to allow push through fire if that would be useful. The shooting at declaration looked good, S will do as it slows:


Most of the Mongol cavalry chose to Run Away, the Superior Protected unit being an exception (sensibly as it was slowed by 2 and is actually quite tough) and their shooting knocked off a couple of bases. Only 1 fight and that proved to be a damp squib for the Khwarazmians.
We then moved on to what is possibly the most brutal Shooting Phase I have ever seen. I'll let this selection of pictures tell the story ...


Whilst the Mongols took a fair amount of damage the Khwarazmians were battered and lost a unit of their allies - the Skilled shooter one of course. To add insult in the one combat the Mongol unit reduced the Khwarazmian unit to within a wound of breaking. Well, we knew this could be a short brutal game.

The next move was a bit of a last gasp try for the Khwarazmians, but it started well with another good Shoot & Charge roll:

However, the Mongol shooting in their evade moves remained strong - S counting as a wound here.

The Lancers failed to make contact.
The subsequent shooting phase had an air of familiarity about it, at least for the Mongol shooting; again the pictures tell the story ...


This broke more Khwarazmian units and in the melee phase that followed the Khwarazmian army was broken. Ended 15-3 to the Mongols. Short and brutal but still a very good game.


Comments
Post a Comment