Western Han Chinese - from gift to tabletop

Way back in the mists of time circa. WRG 6th Edition, I bought an Essex Miniatures Chinese army pack which eventually became a Han Chinese army. Those figures are long gone but with the advent of Mortem et Gloriam (MeG) I have once again painted up a Han Chinese army. To find out more about it read on ...
Ever since that first Chinese army I have had a desire to do a Han Chinese army again, but this time using the more accurate figure now available. Lurkio and Essex Miniatures both do nice 15mm range for the Han based on the Terracotta Army of the tomb of the Qin first emperor, Qin Shi Huang. The style is still suitable for the Western Han - the Han dynasty being split into two halves named after the geographic location of their capitals.
Very generously Simon Hall offered me a 10k point MeG army of my choice from his Lurkio ranges as a "thank you" for assisting Richard Jeffrey-Cook with the army lists. This was too good an opportunity to miss and so I drew up a Western Han army lists. Since then I have added some extra figures to give me more options, especially for an all mounted army option, but the kind gift provided the majority of the figures.
The following is pretty much that original list I drew up, but has some small tweaks to improve it and adjust for some of the points alterations that have happened over time. Under the current army builder it comes in at a very pleasing exact 10k points - always nice to do but doesn't happen often.

The command structure is entirely Professional generals (Instinctive are not an option even if I wanted) with 3 Competent and 1 Mediocre generals. This gives 11 cards/discs for command and control which is just, but only just enough in my view for this army. If desired it could easily upgrade the Mediocre general to Competent by dropping a unit of the skirmishing archers, however, I find them useful and the army operates well enough with the 11 cards/discs.

The Army Commander will usually float and distribute his cards, which is a reason why the 11 card approach does work.
I chose to have the generals in chariots for the look of things. The chariots are actually from the Essex Miniatures range. I originally had the Lurkio models which are perfectly good, however, in my view the chariot wheels are too small - Chinese chariots had fairly large wheels - and the Essex ones are a better size so I sold the Lurkio ones on and replaced them with the Essex ones. The banners are from the net and the idea of banners on the chariots like that came from seeing pictures of Matt Heywood's Qin army.
The army camp is just a basic poor, undefended one.

The pavilion is from Baueda and is guarded by spare Lurkio figures. The "emperor" figure is also Lurkio.
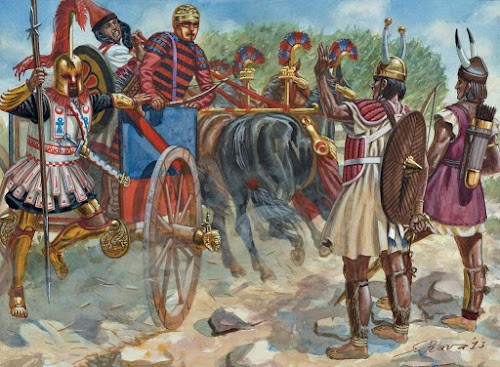
First on the army list are the chariots. Now use of chariots was in steady decline towards the end of the Warring States period of Chinese history and they disappeared as a military army sometime during the Western Han - the army list only allows them before 100 BCE which is an arbitrary cut off date, but as good as any. In reality they don't add that much to the army that couldn't be provided by another unit of cavalry, but they look good and that is reason enough to take them in my view.

I have taken them with the optional Shoot & Charge and Devastating Chargers characteristics. The former is very useful as shooting when charging is not normally allowed and the casualties can just tip a fight your way, plus if charging something that can evade the shooting can also Slow them meaning it is more likely you can catch them or forces them to Run Away which degrades their shooting. The downside to the Devastating Charger is that the chariots cannot evade but they do hit harder so provide a shock unit for the army.
To go with the chariots there are 2 units of cavalry.

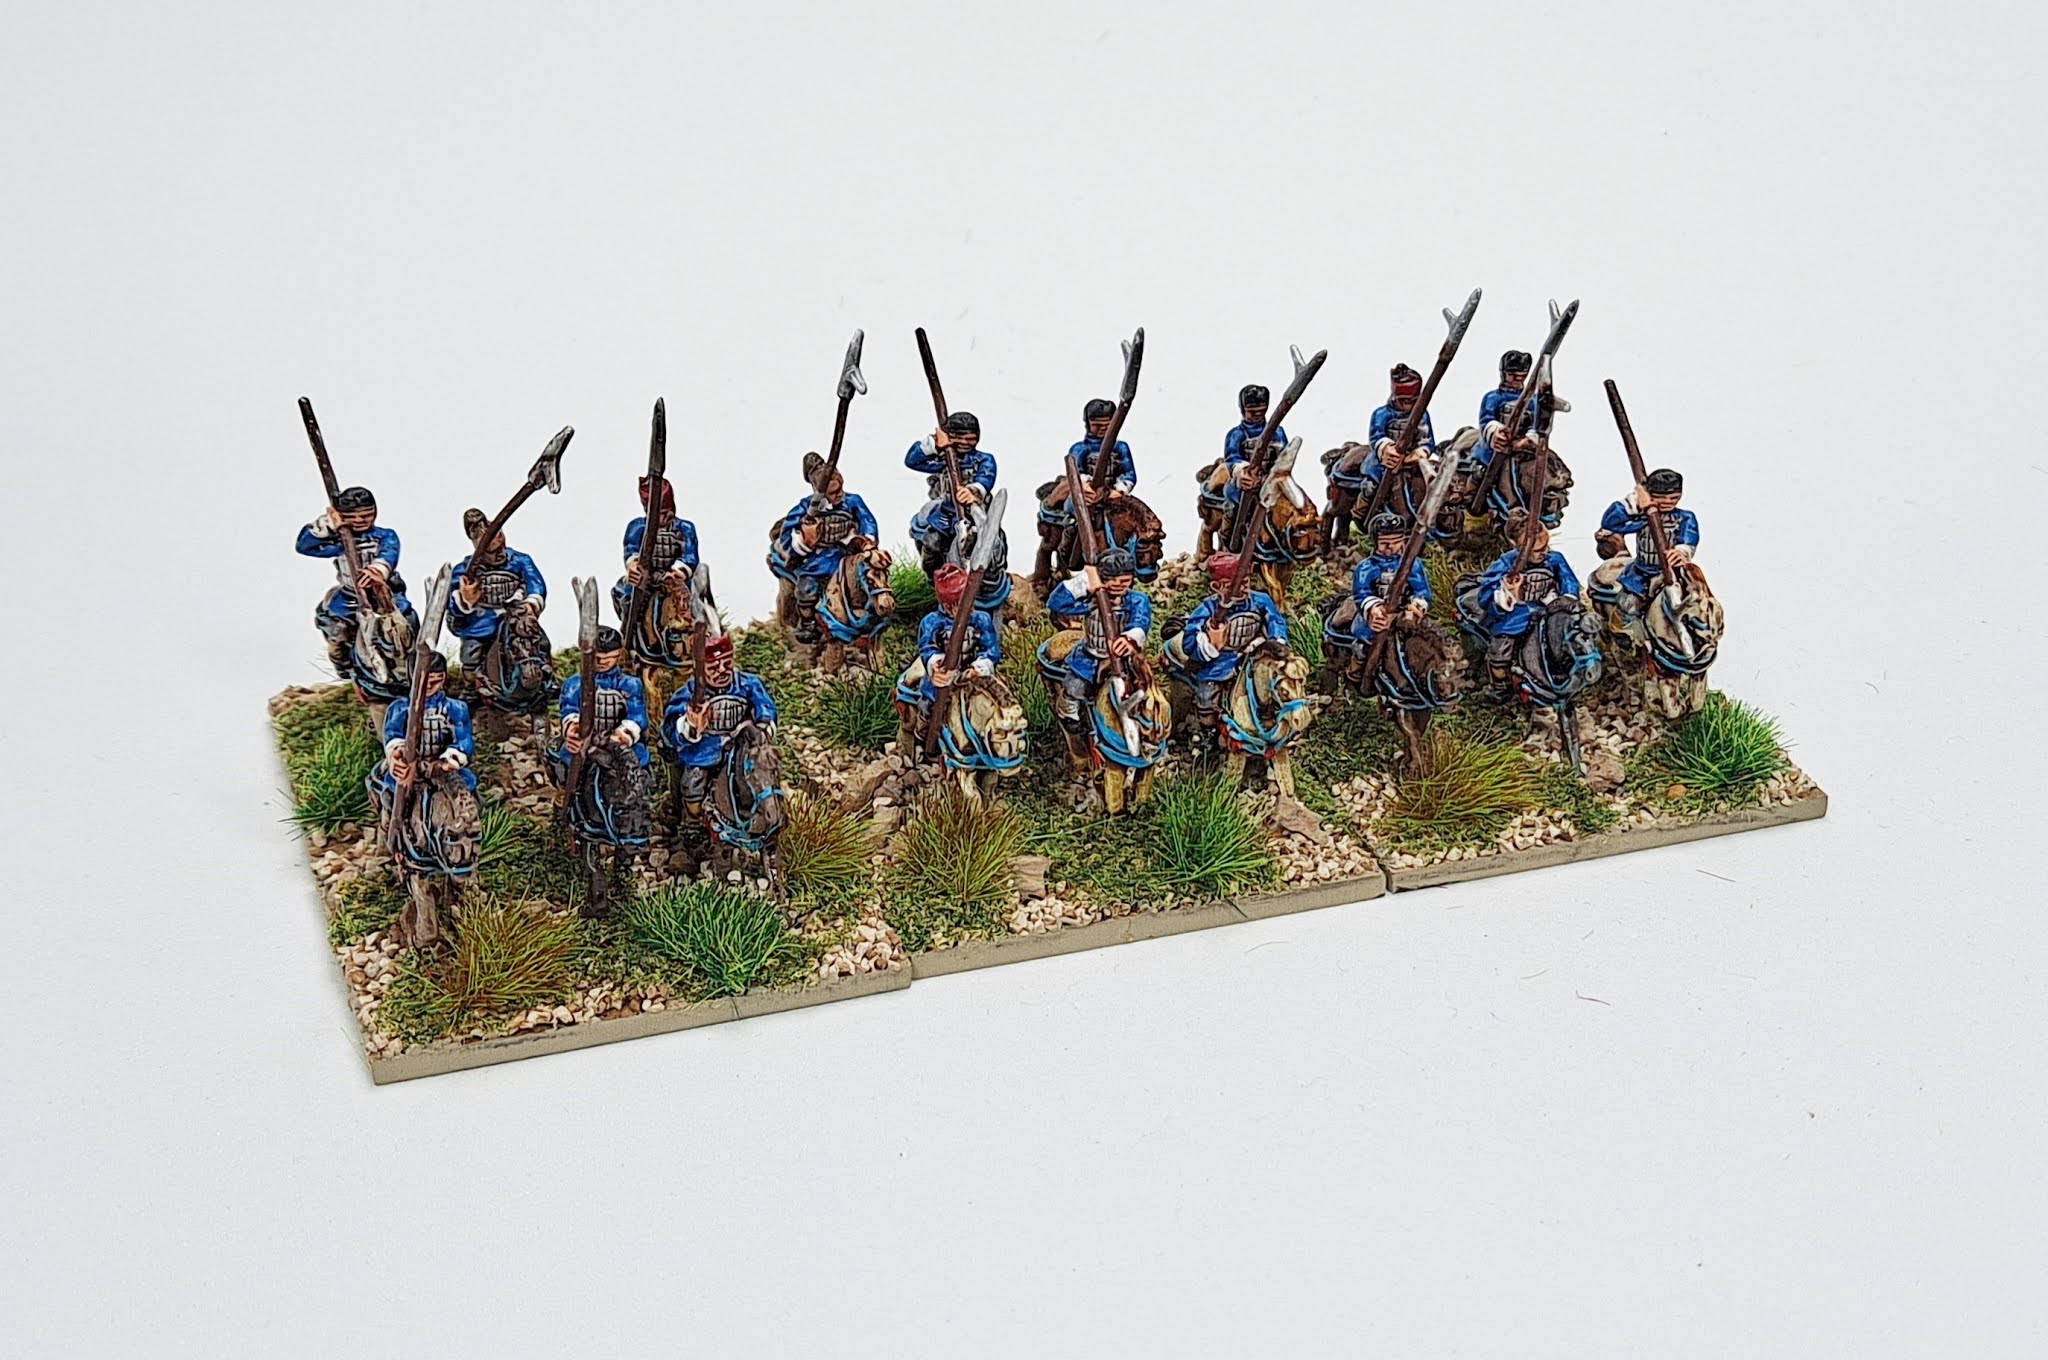
The Han cavalry have the unusual combination of Mounted Polearm (itself an uncommon weapon) and Experienced Crossbow with the Shoot & Charge characteristic. The latter gives the benefits already mentioned in regards to the chariots above. The Mounted Polearm is a touch unusual in that it allows the possibility of Shatter in the Charge Phase and also gives a + claim in the Fighting Phase rather like Melee Expert. This makes them good all round troops who can be a bit more potent in melee than some expect. Being missile armed they can also evade chargers if they like which is again unusual for troops with a weapon that caused Shatter.
The units pictures are painted in different colour schemes to allow the differentiation between Standing Army troops and Conscript Army troops - although in this list both units are Conscript Army so are Formed rather than Drilled.
The cavalry will usually spend some time shooting to soften up enemy before getting stuck in, although they will probably be quite aggressive against enemy horse archer types. They will quite likely work in conjunction with the chariots.
Stepping out of the order of the list we will just round out the mounted army with 2 units of Horse Archers.


At first glance these appear to be your standard Flexible horse archer types, however, they are Protected instead of the more common Unprotected. This means that they are more able to operate in a TuG rather than Skirmisher formation as enemy shooting at them will not get a dice upgrade due to the lack of protection. Their being Flexible still allows them all the advantages that confers, of course. In this list they are Combat Shy as a way of saving some points to allow the army to have all I want it to have. In other versions they could well not be so which makes them better able to do some fighting if needed.
These have many uses in the army. They can work with the other mounted to provide more shooting, and help bully opposing horse archers, or operate independently. Being Flexible they could deploy in the outer deployment zone in Skirmisher formation and then flip to a TuG for a Green move - in fact they can do this as part of a double move as these allow 2 Green/White moves for one card; very useful and can get you a TuG in the flank zone quickly to face off skirmishers. It is also worth remembering that Skirmisher cavalry can move through terrain quicker than other cavalry so another useful option from being Flexible.
One of the unit has Dismountable mainly because that used up the remaining points, but it can have its uses. They dismount as Loose infantry with Polearm.
Now onto the infantry.

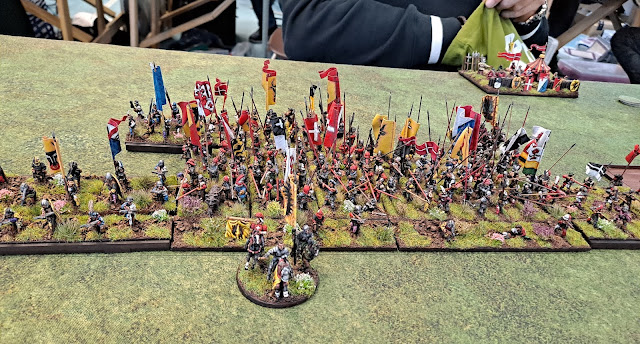
We start with 2 units of Standing Army infantry in mixed formations of troops with Polearm and troops with Crossbows - each unit have 2 of the former and 4 of the latter. The Standing Army troops are Drilled and all the bases are Protected unlike the Conscript army where the Crossbowmen are Unprotected (see below). These then are the best of the infantry and are likely to be used in a more attacking role, or one where their extra manoeuvrability from being Drilled is a benefit. The front rank of men with Polearm means they are effective against mounted troops, but less so against infantry where they will have to trust in the shooting more. However, with them all being protected it is a bit less of an issue if front rank bases are lost.
The Polearm bases are Flexible so terrain is not much of an issue, and can be their friend. I have bases with 4 men on and bases with 3 on to be able to mark which formation the units are in - the picture shows one of each.

There are 3 similar units of Conscript Army infantry (only 2 shown here). These are Formed as opposed to Drilled and the Crossbowmen are unprotected as mentioned. These, therefore, are more vulnerable in melee and will need to rely more on their shooting - falling back before enemy is going to be a fact of life for them to allow the shooting to have effect. Again the front rank is Flexible.
There is an argument that instead of 3 units each of 6 bases 2 units each of 9 bases would be better as these take longer to break. However, I prefer the extra unit for flexibility.
The Conscript Army also includes a unit armed with "mao" a long spear.

Skirmisher infantry round out the army.

Although often overlooked I think a unit or two of skirmishing infantry can be a real bonus to an army. They can niggle away and cause a few casualties/slows which can mount up over the game. This can be especially true against shooting cavalry where their bow range is longer than the mounted troops. They can operate in all terrain as well. In this list one unit has been downgraded to Poor for points saving - not ideal but as ever is sometimes needed, and as Experienced shooter still shoots at full effect.
There is a interesting variant off the army that can be fielded - an all mounted version. This removes the need for any of the infantry which only apply is any infantry are fielded.
Because of the list numbers you don't end up with much choice for the army composition, but to be honest I don't think you really need it. I have used the all mounted version a couple of times and here is a list:

This has one extra command card/disc than the version above as it needs more. You could argue that 12 is still cutting it a bit fine for an all mounted army as it is going to reply on manoeuvre and skirmishing, but it works even if it can get a bit buttock clenching at times. In fact I have used an all mounted with just 11 cards/discs - but that was just a bit too tight.
8 PBS cards and 5 scouting cards gives you a reasonable chance of fighting on a table you're happy with and getting to see a chunk of your opponents deployment first. The latter is a real advantage for this army.
You will see that in this version the chariots do not have Devastating Chargers. This is because I want all the units to be able to skirmish and Devastating Charger would prevent that. You lose a bit of punch, but what the heck.
In this list the ability to differentiate the cavalry based on their paint scheme is of benefit as unlike the previous version it contains both Standing and Conscript army cavalry. The Standing Army cavalry are in the smaller units as they are more manoeuvrable and so better able to be slipped into "interesting" positions where a larger unit may not work.
The army also includes Dependant State Cavalry which are standard Formed Flexible Unprotected types. They add more units of mobile shooting but are more vulnerable to being shot themselves than the Han Horse Archers.

This is not an army for the impatient. You will have to wait for shooting to take effect and opportunities to develop - and with no Skilled shooting this can take time. Be ready to jump on opportunities with alacrity when they appear.
Podcast listeners will recall that in the episode on Qin and Han I drew up a version of this army to try and take advantage of the No Camp option now available to any all mounted army, however, that version would be very high risk in my view and it is unlikely that I will ever use it.
Should anyone feel brave enough here it is ...

If you do try it please let me know how it goes.


Hi Nik,
ReplyDeletethanks a lot one more time for your very detailled post on armies you like.
a real attractive post ( one more army to paint:-) )
Cheers.
Gilles
I like the Han armies, particularly the Infantry heavy version. To be honest, the loss of Devastating charge on the Chariots in your safe all Mounted version is a good idea. Having just one unit in the army that can't evade would be the cause of that army unravelling quite quickly I think. I think if I were to use the 2nd all Mounted version of Han that you described in the podcast, I'd lose 15-0 through not being patient enough
ReplyDeleteI think the version I did for the podcast is best avoided by anyone ;-)
Delete