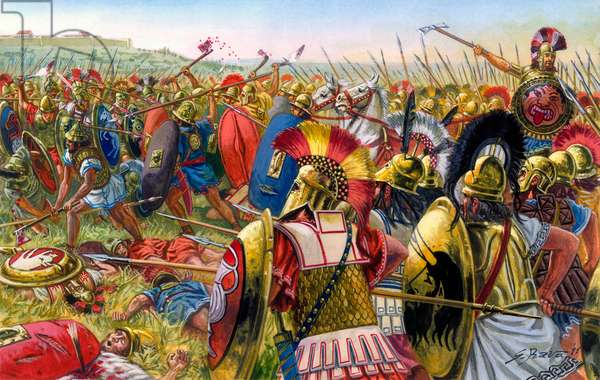
Seljuqs of Rum at Skullrollers 2021 - Round 1
As mentioned in my last blog post over the weekend of the 25th/26th September 30 eager MeGers gathered at the London Grand Tournament for the MeG World Championships - a.k.a. "Skullrollers". At the last LGT event I had taken Middle Sasanid Persians and managed to finish 3rd; this time I took Sultanate of Rum. This is an account of the first of 5 games; to see how I did read on ...
Skullrollers is an "open" competition and so any army from the MeG lists can be used. Now personally I am much less keen on these open competitions than themed ones, but others really like them and a good mix of formats is healthy. However, it did mean that I was less motivated to work out a list for the event and so somewhat lazily just went with the army I used at the Cross & Crescent event in Stockport which I have previously blogged about here.
Now as I won that competition I am not going to try and claim that using the army again was a random decision, but it wasn't one I spent too long thinking about.
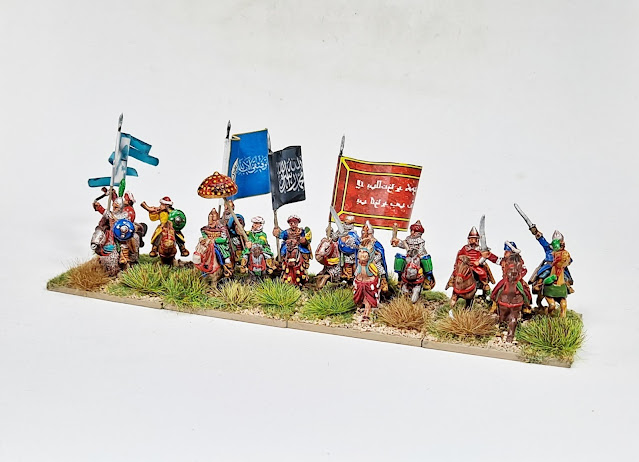
My list was:

The first round draw matched me against Panos from Greece using Almoravid; his army was:

A conventional version of Almoravid and very solid. However, I've played these before and they hold no fears for me, I just need enough open space to manoeuvre my horse archers and for the shooting dice to be reasonable.
I won the PBS dice off and chose to defend. I then played a Red card to ensure I got the choice of territory type and chose - surprise, surprise - Plains. Terrain was restricted to one fairly small piece of brush on my left flank - chosen by Panos for being camel friendly of course. I outscouted Panos by 50% which gave me a good idea of where his army was going to be, and I chose to weight my army on my right, with the left held by the allied Turkmen and the Christian mercenaries.
As Panos had put his best mounted - his Christian mercenaries and the camels - plus the Black Guard on his right, it did mean my left was a bit outmatched, but I felt I could win on my right before that became an issue having faced this situation quite a few times before.
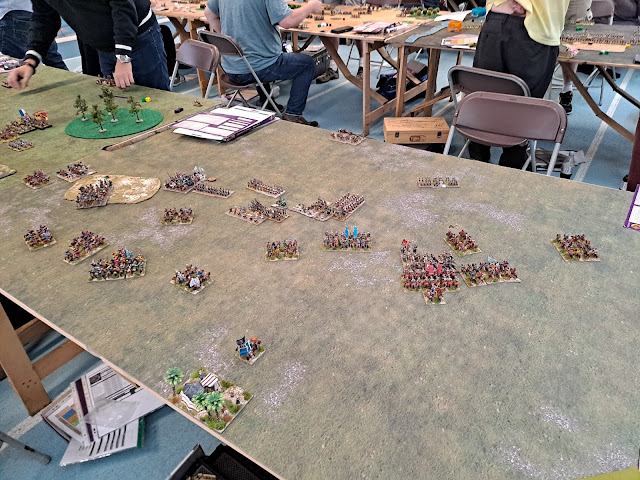
After deployment things looked like this:

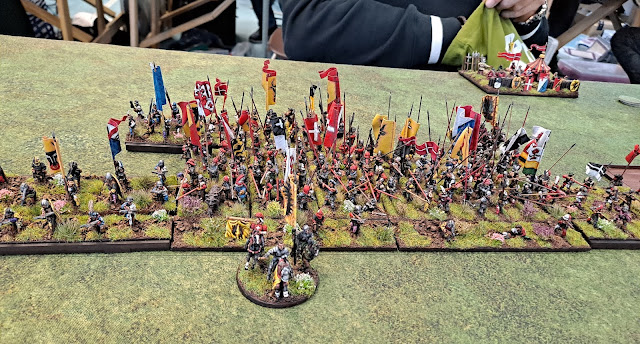
In the background you can see Steve Charlton's lovely Swiss who we will meet later in this series of game reports ...
And looking from the other flank:

My ally was OK from the start - would have been really embarrassing, not to say problematic if he had been hesitant ...

As is usually the case with this army, my C-in-C was floating.
The first move saw Panos push strongly on his right where he had an apparent advantage, but also brining up all his infantry and his weaker left wing of mounted which comprised of the Ghuzz mercenaries and one of the Berber light horse units. I must admit I though this latter move was a bit optimistic as my right wing had most of my Skilled shooters - also he had come far enough forward that I could move to within shooting range easily. The rest of my army was a bit more cautious and set up to skirmish and delay.
After all movement the table looked like this:

I am hopeful that next move my shooting at the Unprotected Ghuzz and the Berbers will cause some significant damage.

There are 6 Green dice on the Berbers and 3 Green and 1 Yellow on the Ghuzz. Whilst I shoot away the Berbers the Ghuzz are basically unscathed - mind you, they are still very isolated so I'm not worried.
Panos continues to push on his right with the camels leading, but is a bit more cautious with the mercenary knights and ensures that the Black Guard are closely supporting them. On his left he turns a unit of the Superior Lamtuna spearmen to face his flank in anticipation of his Ghuzz being defeated and my cavalry swinging in towards the infantry.
I push a horse archer unit behind the Ghuzz so they cannot escape and advance other cavalry to start shooting at his Berber infantry.
At the end of the move the situation is thus:
The next move sees our first charge as Panos send in the camels, however, it is a long distance affair and my Turkmen casually skirmish in front of him - although their shooting is ineffective.
In response I bring up the Christian mercenaries which has the effect of drawing his Christian mercenaries forward to assist the camelry. I manoeuvre a couple of the allied horse archer units into positions where over the next move or so they will be able to charge the camels flank and rear all being well - however, it will almost certainly cost me the other Turkmen unit.

Note that the unit by the left table edge looks a long way off, however, one move forward will bring it within charge distance of the rear of the camels even after they charge again. With only a unit of Skirmishers in their vicinity the horse archers are pretty free to do what they like.
On the other flank Panos' Ghuzz are reduced to 3 bases by shooting and a mamalik unit has inserted itself in a position to be able to charge the flank of the Lamtuna unit.

At the end of the move the situation is:

Now the action starts to hot up.
The camelry charge the unit of Turkmen in front of them but are remarkably ineffective - after the charge and melee phases my Turkmen have only lost 1 base but the camels have lost a base and have a wound.

And with 2 units ready to charge into their rear I'm feeling pretty good about this - maybe slightly smug as well as my plans are working out.
Next to this fight you can see that the 2 sets of Christian mercenaries are engaged in an equal fight, both having lost just one base. I'm happy with this.
On the other wing the mamalik are fighting 2 units but doing OK; shooting support helps. Panos brought up a unit of crossbowmen to help out, however, given the number of units I have on my right I am confident I can take these out.

Overall at the end of the move it looks like this across the battlefield:

In the next move the Camels are destroyed by my Turkmen charging their rear - and the unit that had been fighting them that I expected to lose is still there.

Pure dumb luck really, but I'll take it. Additionally, my Christians are starting to get the upper hand over Panos'. Also you will see that his lines are starting to fragment and my units are getting in amongst his - I'm sure you can spot another rear charge opportunity that has been engineered ...
On my right my mamalik feel that discretion is needed and break off from the units they were fighting - the arrival of a second unit of Lamtuna on their flank ready to charge was a bit of a clue. However, Panos' crossbowmen have been teed up as a nice target for a charge by the other mamalik unit and shooting from Skilled Turkmen.

The overall position was:

The battle is now in its end phase and I am looking for the units that will win me the game.
Although Panos can put his Black Guard in a position to charge my Christian mercenaries in the flank, I have put a Turkmen unit in position to charge the flank of his mercenaries - and I am in a far better position to take the unit loss than he is.

Panos' crossbowmen get ridden down with ruthless efficiency and the Lamtuna close to them are reduced to 4 bases so are 1 wound off breaking.

And at the same time the Berber infantry that were charged in the rear are also 1 wound from breaking.

The following move I break the necessary units, although my Christians are broken by the Black Guard. A 15-2 win in the first game; very satisfactory.
Basically my plan worked and my right wing dominated Panos' left wing. I was quite pleased with how I managed my Turkmen on the left to contain and then break the 2 toughest mounted units in Panos' army - although there was a bit of luck along the way. Having a basically open plan against an Almoravid did mean that I never felt that I was in danger of losing my army, the question in my mind was whether I would have the opportunities to get the units breaks I needed to win the game.
The second game can be found here.


Comments
Post a Comment