The second part of my account of my games at the recent Outremer and Reconquista MeG competition held at Battlefield Hobbies where I took a Syrian States army.
To find out how it fared in the second game, read on ...
So, after a successful first outing against the Sicilian Normans I found myself facing a Mamluk Egyptian army played by Jonathan Beach. Jonathan is a fairly new player to the MeG competition scene, however, he had won his opening game so clearly knows what he is doing 😁
A recap of my list:
The Mamluks are a wholly mounted army and have significant numbers of Skilled shooters. I have used them myself and they can be very dangerous. However, they are not the largest army and if their shooting doesn't do well they can be vulnerable; you can see how I did with a Mamluk army last year at a small competition here. The mamluk list along with all those used can be found here.I ended up invading Egypt and there was a Secure Flank of Rocky Going/Woods on my left, a small piece of Rocky Ground on the right but otherwise a nice open field which suited both armies being mainly cavalry 😀
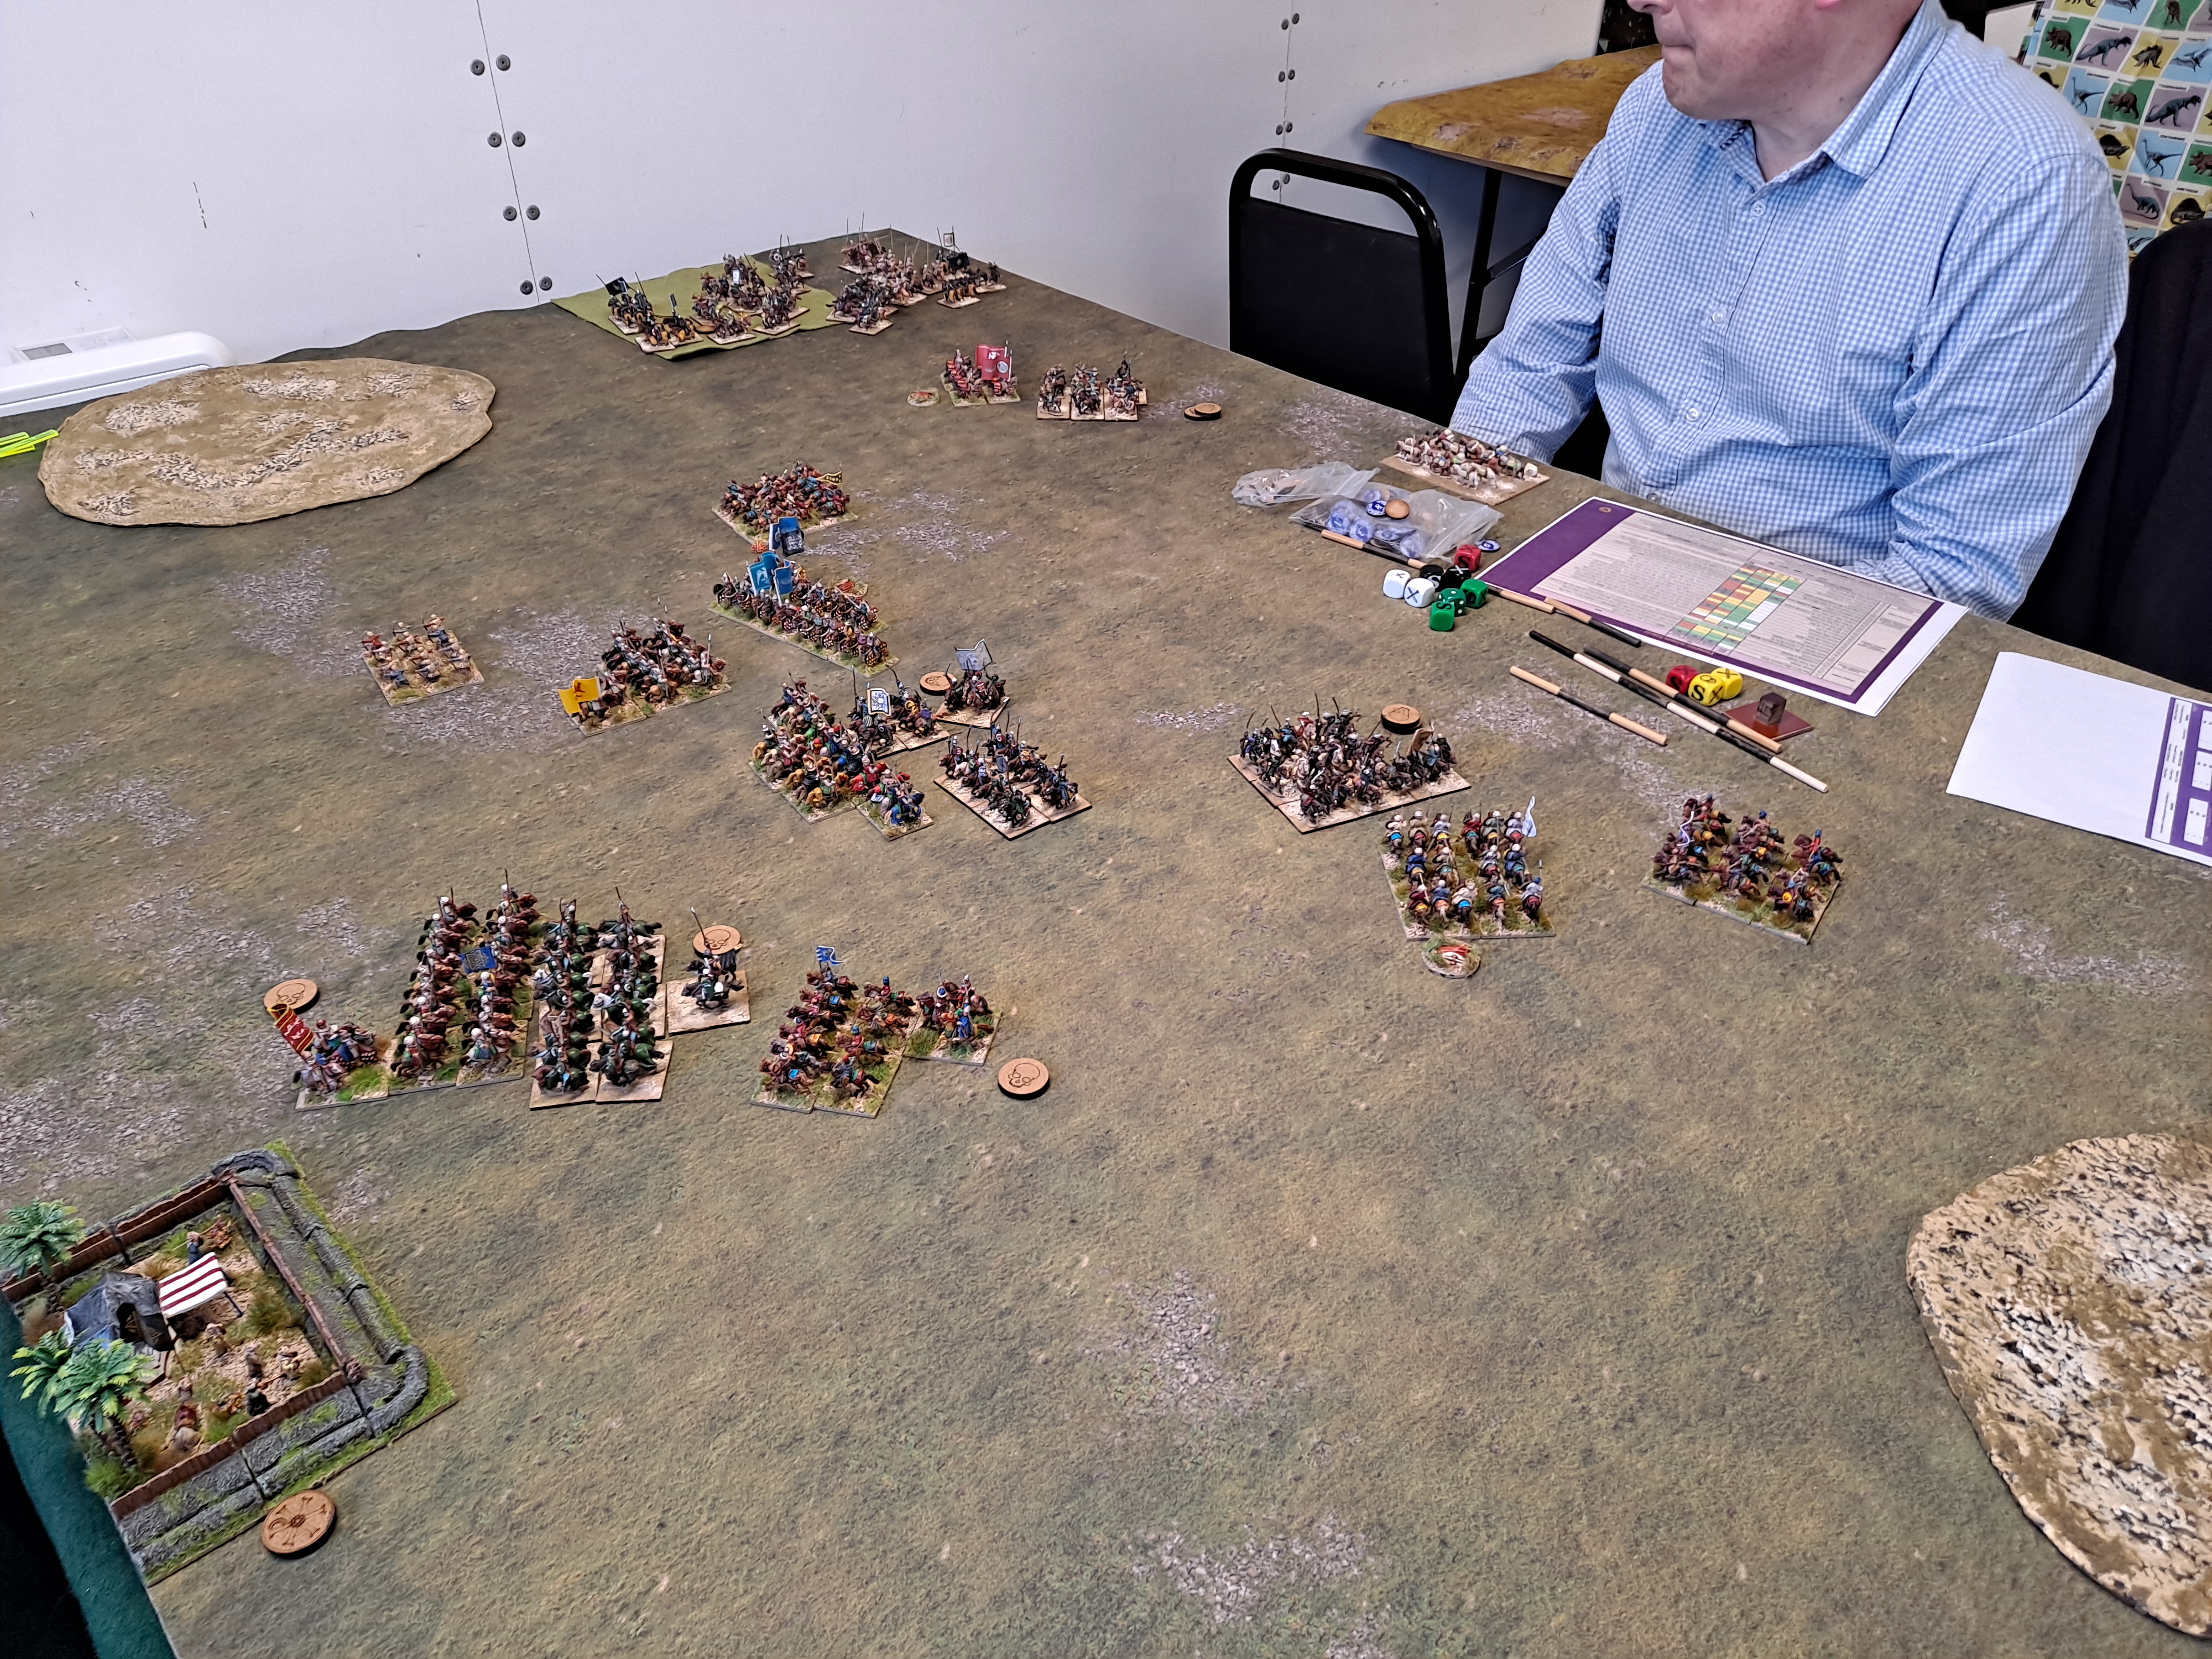
Thanks to a very fortunate scouting card split I ended up outscouting the Mamluks by 90% (OK, very very fortunate) which meant that Jonathan deployed his whole army as it was 9 units. This allowed me to choose my matchups accordingly. He deployed with his mamluks in the centre with Turkmen on his right and Bedouin on his left - a rather historical deployment in fact. I deployed with my own mamalik and the Armenians facing his right with a Turkmen unit placed to outflank the end of his line. As in the first game my Turkmen ally deployed on the opposite wing to distract the Mamluk left. It looked like this:
Both of my allies were reliable again so I had no issues there.
I pushed fairly hard on my right to start pressure on the Bedouin at the end of the Mamluk. On the whole Jonathan advanced quite cautiously keeping his line together. On his right he only advanced one of the Turkmen units which I think was a bit of an error given what I had opposite; OK, they were Skilled shooters but I badly outnumbered then and as they were in Loose formation they could be vulnerable to shooting. My 2 mamalik units advanced to bully them.
After the initial moves things stood thusly:
Shooting in the following move saw the Mamluk's Turkmen suffer badly, although they themselves shot the maximum damage that they could possibly inflict. However, the result was a bit one-sided really ...
The Turkmen were now just 1 Wound from breaking and basically stuck where they were due to the Slowing Effect of my shooting.
Other moves were relatively cautious. On the right I advanced to threaten the Bedouin and Jonathan sent a mamluk unit to try and assist them chasing off my Turkmen.
Move 3 again didn't see too much dramatic movement as we both nudged our lines a bit to get into position. I did push a mamlik unit onto the flank of Jonathan's main cavalry line as a threat, although I wasn't actually planning to charge in too quickly as all he would do would be to evade away; I wanted things to develop a bit first. The badly damaged Maluk Turkmen unit was dispatched - only 1 Wound needed after all. They did, however, take another base from my mamalik unit 😲
On the right I shot a base off the Bedouin and manoeuvred my own Bedouin to start threatening flanks at some point later on.
Move 4 saw my plans for the Mamluk centre start to come together. I now moved the mamalik who had got round the flank of the Mamluk line to a position behind the line whilst pushing my Armenian allied cavalry up close to the front, thus effectively trapping some mamluk cavalry.
On my right the allied Turkmen decide they want a bit of the highly effective shooting game and break the Mamluk's Bedouin with their second shot ...
The move ended up looking like this:
Actual combat started the following move. My mamalik charged and destroyed an Average mamluk unit in short order whilst elsewhere I set my troops up for more charges next move.
The charges proved pretty effective; a Royal Mamluk unit sandwiched between Armenian cavalry and my mamalik was destroyed and another Mamluk unit reduced to being 1 Wound from breaking. The second Royal Mamluk unit was trapped between my Syrian cavalry and an allied Turkmen unit.
The move after was the last. My Franks broke the heavily damaged unit and the trapped Royal Mamluks were broken by the Syrians and Turkmen. At this point the Mamluk army broke and I hadn't lost any units at all, much to my surprise.
So a 15-0 victory to me which left me top of the table at the end of the first day. Rather harsh on Jonathan though not to score any points, however, despite the numbers of Skilled shooters in his army they failed to do any meaningful damage when shooting - on another day they could well have broken some of my units.
In the end I think my experience of using shooty cavalry armies meant that I have a very good idea of how to take them on. I have a good record of using them and beating them 😎


Comments
Post a Comment